

Table of Contents
- How Pressure Washing Damages Plants
- How to Protect Plants While Power Washing
- Pressure Washing Chemicals Safe for Plants
- How to Rinse Plants After Pressure Washing
- Plant Sensitivity Index: Which Plants Are Most at Risk
- Recovery Steps for Damaged Plants
- Signs of Chemical Burn and When to Call a Professional
- Frequently Asked Questions
Last Updated: September 11, 2026
How Pressure Washing Damages Plants
The short answer to does pressure washing kill garden plants is yes: cleaning solutions burn foliage, high-pressure spray tears stems and strips bark, and runoff saturates soil with lingering chemicals.
Most homeowners assume the water itself is the problem, it rarely is.
Chemical Burn from Cleaning Solutions
Chemical burn is damage to plant tissue from cleaning agents, typically showing up within 24 to 72 hours. Bleach-based solutions containing sodium hypochlorite are the most common culprit: leaves develop bleached, papery patches, tender stems go limp and dark, and new growth suffers first. Surfactants make it worse by carrying the chemical deeper into leaf surfaces.
Physical Damage from High-Pressure Spray
Water at 3,000 PSI strips a leaf’s outer layer in a fraction of a second, with no way to undo it (extension.psu.edu). Damage falls into predictable categories:
- Leaf shredding on soft foliage like hostas and ferns
- Stem breakage on tender annuals and young perennials
- Bark stripping on thin-barked trees and shrubs
- Root exposure when soil gets blasted out of garden beds
- Flower loss on anything currently blooming
A plant can look fine for days before it collapses, by then the damage is irreversible.
Soil Contamination and Chemical Runoff
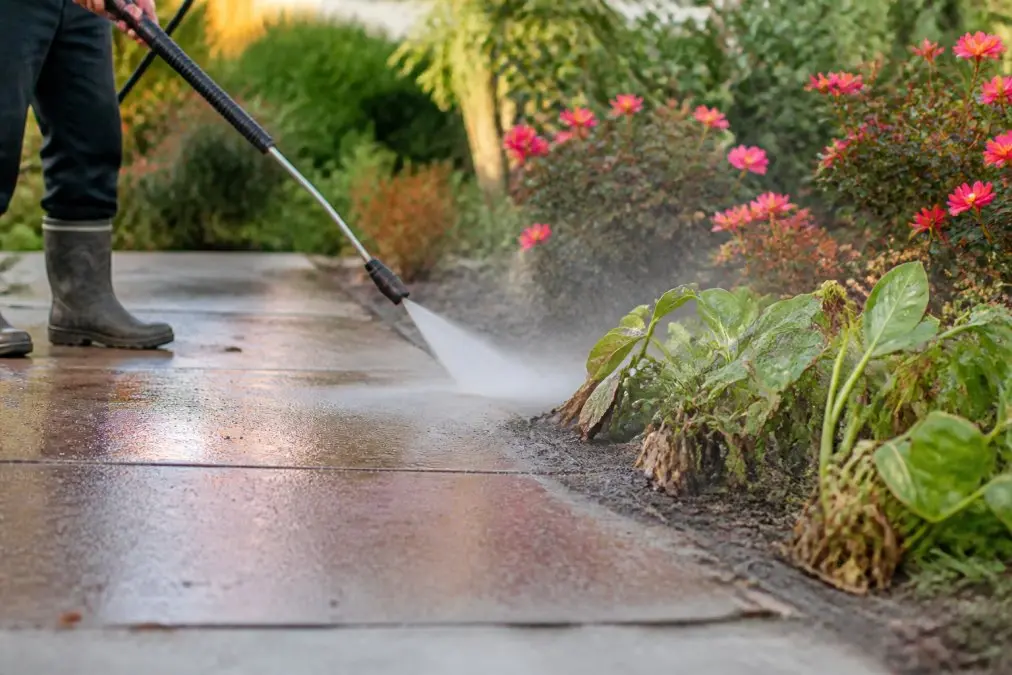
Chemical runoff is the damage most homeowners never see coming. Water carries cleaning agents off concrete into garden beds, where they soak in and stay. Bleach raises pH, detergents break down the waxy coating on roots, and repeated exposure compounds the problem.
If you clean a driveway or patio without blocking runoff, the chemicals don’t disappear. They pool in the lowest point of the garden, which is usually right where your most established plants are growing.
How to Protect Plants While Power Washing
Plant protection comes down to three things: pre-soaking, barriers, and controlling where water and chemicals go.
Pre-Soaking and Protective Barriers
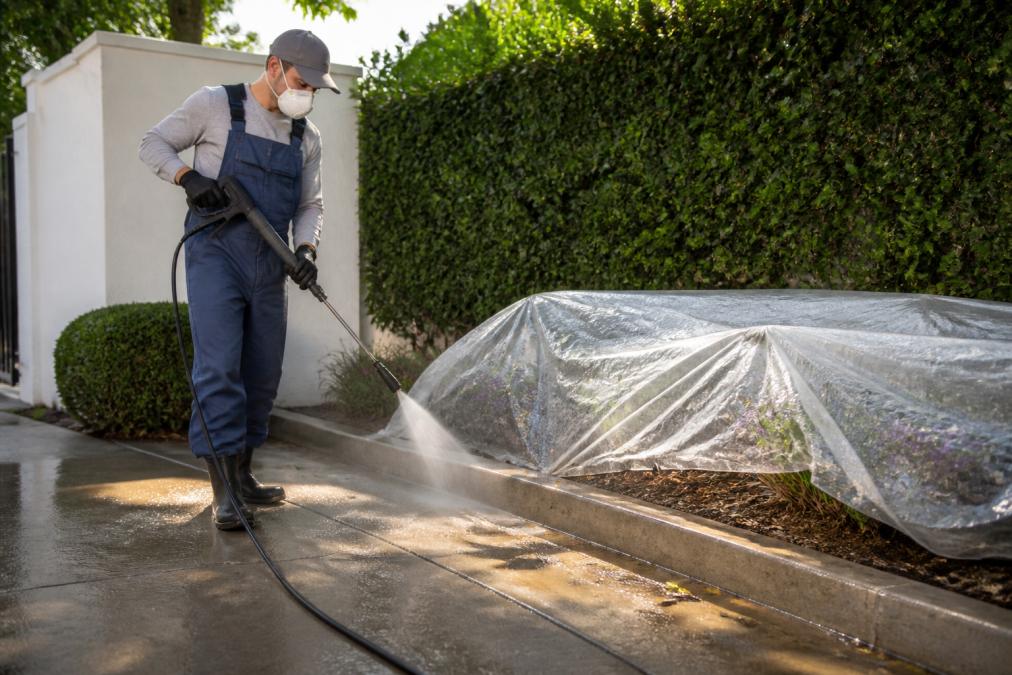
Pre-soaking fills plant tissue with clean water so there’s less room for chemicals to absorb, and creates a wet surface layer that dilutes anything landing on it. Thirty minutes before you start, water every plant within 15 feet of the work area, soak the soil, not just the leaves. Then cover what you can.
- Plastic sheeting over garden beds and shrubbery
- Protective tarp draped over delicate foliage and flowers
- Cardboard or plywood as a temporary barrier along the foundation
- Sandbags or weights to hold barriers down against spray drift
For raised beds, a tarp over the soil matters more than covering leaves, roots are where long-term damage accumulates.
Nozzle Pressure and Spray Direction
Nozzle pressure is the biggest variable you control. Switch to a 40-degree tip within 10 feet of a garden bed and drop to your lowest setting, slower passes at lower pressure clean just as well on most surfaces. Spray away from plants, never across them, working from the plant side outward so overspray travels away from foliage.
Test your setup on a scrap of cardboard placed at the edge of the garden bed. If the cardboard shows water spotting at 10 feet, your pressure is too high for that area. Adjust before you touch the actual surface.
Pressure Washing Chemicals Safe for Plants
No cleaning chemical is truly plant-safe at full strength. The question is dilution, contact time, and what the product breaks down into after it hits the soil. “Use biodegradable soap” is incomplete advice, “biodegradable” describes what happens over weeks in a landfill, not in the first 60 seconds on a leaf.
What Each Cleaner Class Actually Does to Plant Tissue
The active ingredient matters more than the label. Here’s how the common options behave on contact:
| Cleaner Type | Active Ingredient | Typical Dilution | Plant Risk | Mechanism of Damage |
|---|---|---|---|---|
| Plain water | H2O | None | Minimal | Physical only (pressure, not chemistry) |
| Biodegradable detergent | Nonionic or anionic surfactants | 1:20 to 1:30 | Low | Strips leaf cuticle; can desiccate tender growth |
| Oxygen bleach | Sodium percarbonate | 1:10 to 1:20 | Moderate | Oxidizes tissue; less residual salt than chlorine |
| Sodium hypochlorite | NaOCl (chlorine bleach) | 1:10 to 1:30 | High | Oxidizes cell walls; forms hypochlorous acid in water |
| Solvent degreasers | Petroleum distillates, d-limonene | Varies | Very high | Dissolves waxy cuticle and root membranes outright |
Sodium hypochlorite is the one most homeowners use and the one most likely to cause visible damage. In water it forms hypochlorous acid (HOCl), a strong oxidizer that attacks cell walls, which is why bleach burn shows up as bleached, papery patches rather than the soft wilting of drought. Surfactants are the second problem: they lower surface tension so the cleaner spreads evenly across concrete, pulling the chemical deeper into the leaf’s stomata and cuticle.
Why Dilution Ratio Is Only Half the Story
Dilution ratio is the amount of water mixed into the concentrate; most consumer cleaners run between 1:10 and 1:30. But contact time matters just as much, a 1:30 bleach solution that sits on a leaf for 30 seconds does less damage than a 1:10 solution that dries in place. Experienced technicians mix the weakest ratio the surface will tolerate, apply it in the smallest area possible, and rinse the surrounding soil before, during, and after. Containment matters more than chemical choice.
The Soil Chemistry Angle Most Guides Skip
What happens after runoff reaches the bed is where serious gardeners get hurt, cleaning agents change soil chemistry in ways that show up weeks later.
- pH shift. Sodium hypochlorite is alkaline. Repeated application raises soil pH, which locks out iron and manganese. The symptom is interveinal yellowing on new growth, easy to mistake for a nutrient deficiency and treat with the wrong fix.
- Salt loading. Bleach and many detergents leave sodium and chloride behind. Sodium displaces calcium and magnesium on soil particles, degrading soil structure. Over a few seasons, beds beside a regularly washed driveway can go compacted and crusty.
- Microbial disruption. Soil bacteria and mycorrhizal fungi are sensitive to oxidizers. A single heavy bleach runoff event can knock back the microbial population that helps roots take up water and nutrients.
- Surfactant persistence. Some nonionic surfactants break down slowly in cool, dry soil. They can reduce water infiltration in the root zone, causing the plant to wilt even when the soil is damp.
A driveway cleaned every spring with strong bleach can slowly weaken the bed beside it, even with no visible burn. The damage is cumulative and chemical, not physical.
If you clean a driveway or patio without blocking runoff, the chemicals don’t disappear. They pool in the lowest point of the garden, which is usually right where your most established plants are growing, and where the soil is hardest to flush.
A Practical Rule for Choosing a Cleaner
For anything within reach of a garden bed, plain water or a diluted biodegradable cleaner handles most jobs. Save sodium hypochlorite for surfaces well away from plantings. If you must use bleach near plants, pre-wet the soil to saturation first, dry soil wicks chemical in, saturated soil pushes it through, then flush within 15 minutes.
The safest chemical for your plants is the weakest one that still does the job, applied in the smallest area, with the soil pre-wet and flushed fast. Start with water, step up only if the surface demands it, and treat runoff as part of the job, not an afterthought.
How to Rinse Plants After Pressure Washing
Rinsing is the step most people skip, and it saves the most plants. The goal is to flush chemicals off leaf surfaces and out of the root zone before they do damage. Start within 15 minutes.
- Rinse foliage first. Use a gentle shower setting on a garden hose, working from the top of the plant down. This pushes chemicals off rather than into the soil.
- Flush the soil. Run water through the bed until it drains freely. You’re diluting whatever soaked in, not just wetting the surface.
- Remove barriers and rinse underneath. Chemicals collect on tarps and sheeting. Rinse them off before you pull them up, or you’ll dump the concentrate right onto the plants you protected.
- Repeat the soil flush the next morning. A second flush catches anything that migrated deeper overnight.
If you used a bleach-based product, do a third flush 48 hours later. Sodium hypochlorite breaks down in sunlight, but it needs water and time to fully neutralize in soil (the EPA).
Plant Sensitivity Index: Which Plants Are Most at Risk
Not all plants respond to pressure washing the same way. Some shrug it off. Others die from a single overspray.
Use this index to decide how much protection each part of your yard needs:
| Sensitivity | Plant Types | Protection Needed |
|---|---|---|
| Very high | Ferns, mosses, succulents, seedlings | Full cover, no spray within 15 feet |
| High | Hostas, impatiens, hydrangeas, young perennials | Tarp plus pre-soak, low pressure only |
| Moderate | Shrubs, roses, established perennials | Pre-soak, spray directed away |
| Low | Established trees, ornamental grasses, mature hedges | Pre-soak is usually enough |
Succulents deserve special mention: their waxy coating keeps them alive in dry conditions, and detergents strip it off, a succulent hit with cleaner may survive the burn only to die weeks later from dehydration. Tender stems on young plants are the other high-risk category; a stem that bends under spray pressure usually snaps at the base.
Recovery Steps for Damaged Plants
Most guides stop at prevention. If a plant already took a hit from overspray, drift, or runoff, the next 24 to 72 hours decide whether it lives.
First, Triage: Chemical Burn vs. Physical Damage
Treatment differs depending on what happened, and the two often occur together.
- Chemical burn shows up as bleached, papery patches with a distinct edge between dead and healthy tissue, within 24 to 72 hours. The plant is alive underneath; the tissue is scorched.
- Physical damage from high-pressure spray is immediate, shredded leaves, snapped stems, stripped bark. There’s no recovery for destroyed tissue; the goal is to help the plant seal the wound and regrow.
- Root-zone damage from chemical runoff is slowest to show: wilting despite wet soil, yellowing between leaf veins, and stalled growth over one to three weeks.
Symptoms across multiple plants at once almost certainly mean chemical damage rather than disease or drought, diseases spread, chemical damage appears everywhere runoff or drift reached.
The 24-Hour First-Aid Protocol
Act within the first day, recovery is possible for mild to moderate damage, but depends on how fast you respond.
- Flush the foliage immediately. Rinse with plain water for several minutes using a gentle shower setting, working top-down so you push chemical off the leaf rather than into the soil.
- Flush the soil thoroughly. Run water through the root zone until it drains clear, repeating daily for three days. This is the most important step for root-zone exposure.
- Remove damaged tissue. Cut away burned leaves and broken stems with clean shears, sterilizing blades with rubbing alcohol between plants, to redirect energy to recovery and prevent infection.
- Skip fertilizer for two weeks. The salts pull water out of already-compromised tissue. Wait for new growth before feeding.
- Shade the plant for a week. A temporary shade cloth reduces transpiration stress while the plant rebuilds its canopy.
What to Watch For in Weeks 2 Through 4
Survival is decided over the following month.
- New growth at the base or along stems signals the root system survived, the single best indicator.
- New growth only at the tips with dieback below suggests compromised roots spending their last reserves.
- No new growth within three weeks usually means the plant is past saving; remove it before it hosts pests or disease.
- Yellowing between veins on new leaves points to a pH problem from alkaline runoff. A soil test confirms; a sulfur amendment may be needed once the plant stabilizes.
What Not to Do
A few common “rescue” moves make things worse:
- Don’t fertilize. The salts pull water out of stressed roots and can finish off a plant that would otherwise recover.
- Don’t overwater to standing water. Saturated soil has no oxygen, and damaged roots rot fast. Flush, then let it drain.
- Don’t prune aggressively. Removing more than a third of the foliage at once shocks the plant. Take only clearly dead tissue.
- Don’t apply pesticides or fungicides as a precaution. They add chemical stress to an already-stressed plant.
Never apply fertilizer to a chemically burned plant as a “rescue” measure. The salts in fertilizer pull water out of already-stressed roots and can finish off a plant that would otherwise recover.
When Recovery Isn’t Enough
If damage covers more than half the plant’s foliage, or the root zone took a heavy bleach load, recovery odds drop sharply, that’s the point to bring in a professional. A trained crew can assess soil saturation, run a soil test to check pH and salt levels, and clean the affected area without spreading the problem. For valuable plantings, a soil test after a bleach event tells you whether you’re dealing with a surface burn or a chemistry problem that will keep showing up every season.
Signs of Chemical Burn and When to Call a Professional
Chemical burn symptoms appear fast, usually within a day or two of exposure. Watch for:
- Leaf scorch: brown or bleached patches with a distinct edge between damaged and healthy tissue
- Curling: leaves rolling inward or downward, often within hours
- Wilting despite wet soil: a clear sign the roots have stopped taking up water
- White residue: dried chemical deposits on leaf surfaces
- Sudden leaf drop: the plant shedding foliage as a survival response
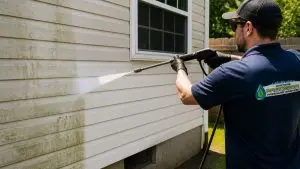
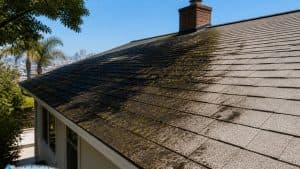
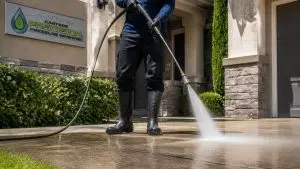
Symptoms across multiple plants at once almost certainly mean chemical damage rather than disease or drought. That’s the point to bring in a professional. Carters Precision Pressure Washing provides professional, high-quality cleaning services to help residential and commercial properties in Los Angeles shine. We specialize in expert pressure washing for roofs, houses, and various exterior surfaces to restore their appearance and cleanliness. Our team is dedicated to delivering top-tier results that enhance your property’s curb appeal.
Property owners who have valuable landscaping, older siding, or a home going on the market and can’t risk plant damage or surface damage from an inexperienced operator.
Pressure washing and healthy landscaping can coexist, but only when the job is planned around the plants rather than the concrete. If you want your driveway, siding, or roof restored without gambling with your landscaping, call for a free estimate and we’ll walk you through exactly how we protect what’s growing around your property.
Frequently Asked Questions
How do you protect plants from pressure washer chemicals?
Pre-soak plants with water before cleaning to dilute any overspray, cover them with tarps or plastic sheeting, and use only biodegradable, plant-safe cleaners. Direct spray away from foliage and rinse plants thoroughly immediately after cleaning to remove chemical residue. If you’re unsure, consult a professional pressure washing service familiar with safe practices.
Will pressure washing kill grass?
Pressure washing itself rarely kills grass unless the spray directly hits it at close range, which can tear blades and compact soil. The bigger risk is chemical runoff: bleach and other cleaners can burn grass, causing yellow or brown patches. Pre-soaking the lawn and rinsing it after cleaning minimizes damage. Most grass recovers within a few weeks if rinsed promptly.
What happens if bleach gets on plants during house washing?
Bleach (sodium hypochlorite) can burn leaves, causing brown spots, curling, or leaf drop. If bleach solution contacts plants, immediately rinse with plenty of water to dilute it. Severe exposure can kill tender plants. Using a diluted bleach solution and pre-soaking plants reduces risk. For sensitive plants, consider plant-safe alternatives or hire a professional who uses protective measures.
How do I revive plants damaged by pressure washing?
First, rinse the plant thoroughly to remove any remaining chemicals. Prune dead or severely damaged leaves to encourage new growth. Water deeply and apply a balanced fertilizer to support recovery. For chemical burns, flush the soil with water to leach out toxins. Most plants recover within a few weeks if damage isn’t extensive. If the plant shows no new growth after a month, it may need replacement.