


Table of Contents
- Preparation and Safety Precautions
- Tools and Equipment You’ll Need
- Soft Washing vs Pressure Washing Siding
- Best Cleaning Solution for Vinyl Siding
- Step-by-Step Cleaning Process
- How to Remove Mold from Siding
- Avoiding Pressure Washer Damage
- Frequently Asked Questions
Last Updated: September 1, 2026
Preparation and Safety Precautions
Before cleaning siding, prepare your property and protect yourself. Pressure washing equipment causes serious injury if mishandled, and improper technique damages siding faster than weather.
Inspect your siding for damage first. Look for cracks, loose panels, or areas where water might seep behind the surface. Address significant damage before cleaning; water pressure can worsen structural problems. Clear gutters and downspouts to ensure proper drainage during rinsing.
Wear protective gear: safety glasses, work gloves, long pants, and closed-toe shoes. Consider a respirator mask when applying chemical cleaners. Protect landscaping by moving potted plants and covering delicate shrubs with tarps. Pre-wet plants that can’t be moved to dilute any cleaning solution. Check that your cleaning products won’t damage vegetation (the EPA).
Avoid windy days when spray drifts onto neighboring properties. Rain within 24 hours can reactivate mold, so plan work during dry forecasts. Early morning or late afternoon provides better visibility and prevents cleaning solution from drying too quickly.
Test your cleaning solution on an inconspicuous area first. Apply it to a small section in the back of your home and let it sit for 15 minutes. Rinse and inspect for discoloration or damage before treating the entire surface.
Tools and Equipment You’ll Need
A garden hose with adjustable nozzle tips works well for light cleaning and rinsing. A soft-bristle brush is essential for scrubbing without damaging siding; stiff brushes scratch vinyl and composite materials. A pole-mounted brush extends your reach to upper sections safely.
Use separate buckets for your cleaning solution and rinsing your brush to prevent contamination. For pressure washing, choose equipment with 1,500-2,500 PSI for vinyl siding and most residential surfaces (the CDC). Adjustable pressure lets you match PSI to different materials.
Use a 40-degree fan spray nozzle to distribute pressure across a wider area, reducing damage risk. Never use a 15-degree or narrower tip on siding. For upper sections, rent professional scaffolding rather than working from a ladder for safer, better equipment control.
Chemical cleaners and mildewcides help remove tough stains and mold. Oxygen-based cleaners are gentler than bleach and break down naturally.
Never mix cleaning chemicals, especially bleach and ammonia ([osha.gov](https://www.osha.gov/ords/imis/accidentsearch.accident_detail?id=144988.015)). The combination creates toxic gas that causes serious respiratory damage. Rinse thoroughly between applications and allow adequate ventilation.
Soft Washing vs Pressure Washing Siding
Soft washing uses low-pressure water (below 500 PSI) combined with chemical cleaners to remove organic growth like mold, mildew, and algae. The cleaning solution does most of the work chemically rather than physically blasting stains away. Soft washing is ideal for vinyl siding, painted wood, and composite materials.
Pressure washing applies higher water pressure (1,500-4,000 PSI) to forcefully remove stubborn stains and debris. This works well for concrete and stone but carries significant damage risk on siding.
For most residential vinyl siding, soft washing is safer. High-pressure water can crack panels and force water behind seams. If you use a pressure washer on vinyl, keep PSI below 1,500 and maintain at least 12 inches distance from the surface.
Wood siding requires even more care. Pressure washing can splinter wood, strip paint, and open grain to water infiltration. Soft washing with appropriate detergents removes mold without damaging the wood. Stucco and composite materials can handle moderate pressure around 1,500 PSI, but higher pressure causes surface erosion.
The stain type determines which method works best. Organic growth responds well to chemical cleaners and soft washing. Mineral deposits and rust require more aggressive pressure. Test your equipment on a hidden area first, starting with low pressure and increasing gradually.
Best Cleaning Solution for Vinyl Siding
Dish soap and water is the gentlest option for light cleaning. Mix a few tablespoons of dish soap into a bucket of water. It’s safe for plants and pets but won’t remove heavy mold.
Oxygen-based cleaners are effective and environmentally friendly. Mix according to package directions and apply with a soft-bristle brush or low-pressure sprayer. Allow 15-30 minutes dwell time before rinsing. They’re safe for landscaping and won’t bleach vinyl.
Vinegar solution works for mildew and light mineral deposits. Mix equal parts white vinegar and water. Apply and let sit for 30 minutes before scrubbing. It’s non-toxic and biodegradable.
Bleach-based cleaners are powerful but require careful handling. Mix one part bleach to three parts water. Bleach kills mold effectively but can discolor some vinyl over time. Never mix with other cleaners. Protect your yard carefully as bleach harms plants.
Commercial mildewcides target mold and mildew specifically. Follow label directions carefully. Most require application, dwell time, and thorough rinsing.
For most homeowners, an oxygen-based cleaner or vinegar solution provides the best balance of effectiveness and safety. If dealing with heavy mold, a commercial mildewcide or diluted bleach solution delivers faster results.
At Carters Precision Pressure Washing, we recommend starting with the gentlest solution that addresses your specific problem.
The best cleaning solution matches the stain type and severity. Light dirt responds to soap and water; mold requires mildewcide or oxygen-based cleaners; heavy staining may need commercial-strength solutions. Test any solution on a hidden area first.
Step-by-Step Cleaning Process
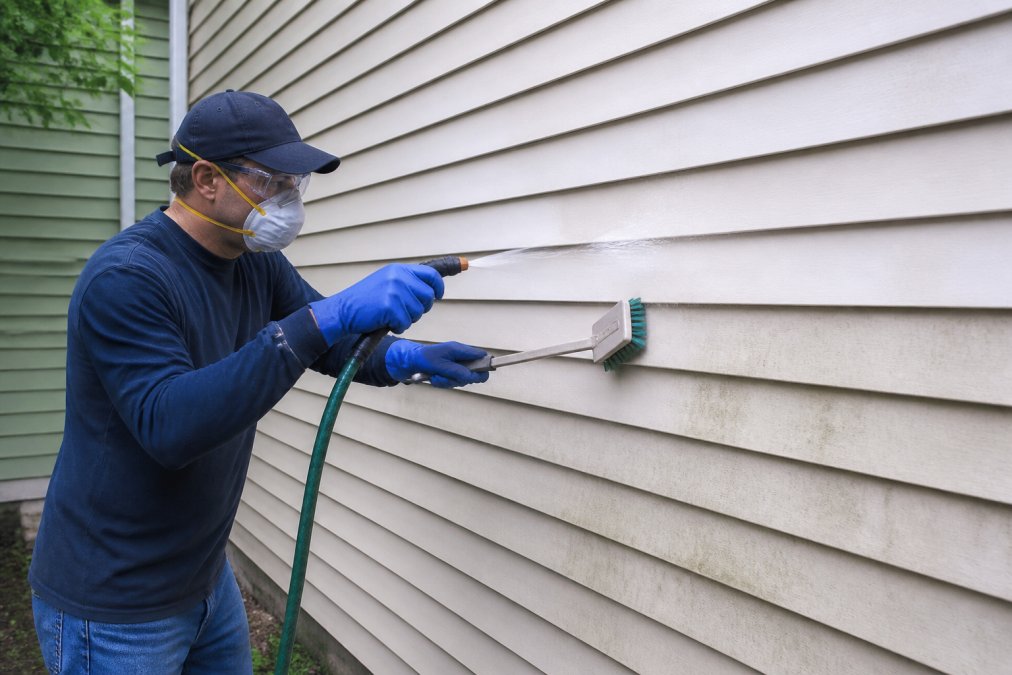
Step 1: Prepare the cleaning solution. Mix your chosen cleaner according to package directions in a large bucket or sprayer tank.
Step 2: Apply the cleaning solution. Start at the bottom of the wall and work upward to prevent dirty water from running onto already-cleaned areas. Ensure complete coverage and let the solution sit for 15-30 minutes.
Step 3: Scrub stubborn areas. Use your soft-bristle brush to gently scrub areas with heavy mold or staining. Apply moderate pressure and scrub in circular motions. Pay special attention to seams and corners where moisture collects.
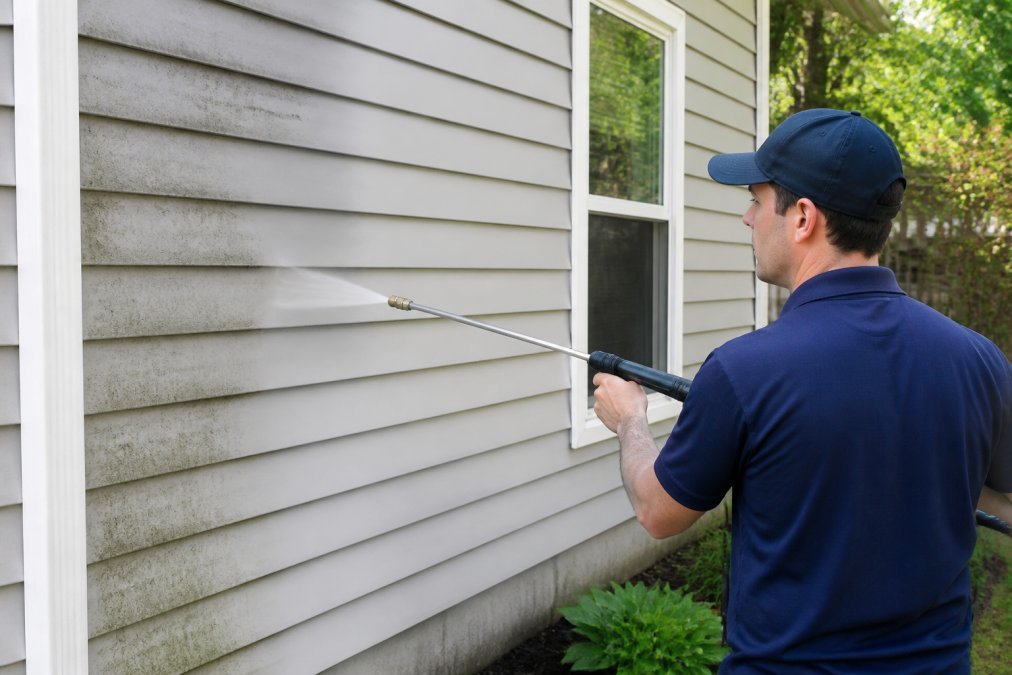
Step 4: Prepare for rinsing. Have your garden hose or pressure washer ready. Set pressure washer to low PSI (below 1,500 for vinyl) with a wide fan spray pattern.
Bottom-Up Application and Top-Down Rinsing
Apply cleaning solution bottom-up to prevent it from running onto untreated areas. Work in manageable 8-10 foot sections so solution doesn’t dry before rinsing.
Rinse top-down, allowing gravity to carry water down the siding naturally. This ensures water flows over all surfaces and carries away debris and residue. Maintain consistent pressure and distance, holding the nozzle 12-18 inches from the surface and keeping it moving. Don’t linger in one spot.
Working in Sections
Divide each wall into vertical sections roughly 8-10 feet wide. Complete one section fully, apply solution, allow dwell time, scrub, and rinse, before moving to the next. This prevents uneven drying and streaking.
For two-story homes, work on one story at a time to prevent water from dripping onto already-cleaned areas.
Rinsing Thoroughly
Thorough rinsing removes all cleaning solution residue and prevents streaking. Use clean water for the final rinse. Rinse each section multiple times until you see clear water with no soap bubbles.
Pay special attention to seams and corners where solution collects. Direct water into these areas to flush out trapped cleaner, as seams are where water infiltration begins.
How to Remove Mold from Siding
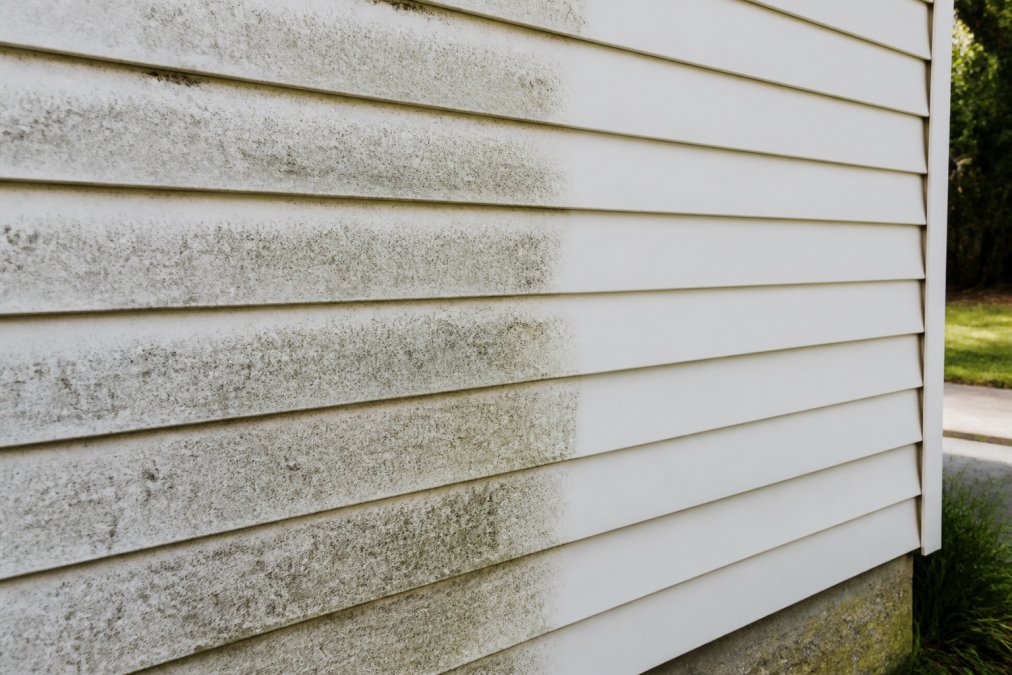
Mold appears as black or dark green spots and thrives where moisture persists, typically on north-facing walls, under eaves, and near downspouts. Mildew appears as white or gray film.
Apply a mildewcide or bleach solution to affected areas. Use a commercial mildewcide or diluted bleach solution (1 part bleach to 3 parts water). Let it sit for 20-30 minutes to kill organisms at their source.
Scrub gently to remove dead growth. Use your soft-bristle brush with gentle, consistent pressure. Dead mold should release more easily.
Rinse thoroughly with clean water. Rinse multiple times to remove all mildewcide residue.
Address moisture sources to prevent regrowth. Check gutters and downspouts; they should direct water 4-6 feet away from your foundation. Trim tree branches that shade siding and prevent air circulation. Ensure grading slopes away from your home.
Preventative maintenance extends time between cleanings. Keeping gutters clean and ensuring good air circulation reduces mold growth significantly.
Avoiding Pressure Washer Damage
Vinyl siding is flexible but not indestructible. Water pressure above 1,500 PSI can crack panels, especially with concentrated nozzles. Cracks allow water infiltration leading to rot and structural damage. Never use narrow nozzle tips on vinyl.
Wood siding is most vulnerable. Pressure above 600 PSI can splinter wood, strip paint, and open grain to water infiltration. Use soft washing instead. If pressure washing is necessary, keep PSI below 800 and maintain at least 18 inches distance.
Stucco and composite materials are more durable but still vulnerable. Pressure above 1,500 PSI erodes the surface and reveals the base material underneath.
Maintain proper distance from the siding surface. Hold the nozzle at least 12 inches from vinyl, 18 inches from wood, and 12 inches from stucco. Start at greater distance and move closer gradually.
Never hold the nozzle stationary on one spot. Keep it moving in smooth, overlapping strokes to prevent concentrated pressure damage.
Test your equipment on a hidden area first. Apply your pressure washer to a small back section and observe how siding responds. If you see damage, reduce pressure or increase distance.
Avoid directing water into seams, corners, and openings. Keep your spray at an angle that directs water down the surface, not into gaps.
Be cautious around electrical outlets, light fixtures, and vents. Avoid spraying directly at these areas.
Never pressure wash from a ladder without a second person spotting you. The recoil can knock you off balance. Use scaffolding or hire a professional. Falls cause serious injuries.
Cleaning siding without damage is achievable when you understand your materials, choose appropriate techniques, and prioritize safety. When the job exceeds your comfort level due to height, equipment complexity, or damage extent, professional cleaning services like Carters Precision Pressure Washing have the expertise and equipment to deliver results safely. Call for a free estimate.
Frequently Asked Questions
What should you not clean vinyl siding with?
Avoid harsh chemicals, bleach-based cleaners, and abrasive scrubbers that can damage vinyl siding. Never use high-pressure settings above 1500 PSI, as this can crack the material or force water behind the panels. Steer clear of wire brushes and stiff bristles that scratch the surface. Acidic cleaners and oil-based products can also cause permanent discoloration or degradation of vinyl.
Can you use Dawn dish soap to wash house siding?
Yes, Dawn dish soap mixed with water is a safe and effective cleaning solution for vinyl siding. Combine one cup of dish soap with a gallon of water for a gentle cleaning mixture. This solution effectively removes dirt and grime without damaging the siding. For tougher mildew or mold, add a mildewcide product to the mixture, following manufacturer instructions carefully.
How often should you clean your home’s exterior siding?
Most homeowners should clean their siding annually, typically in spring or fall. High-traffic areas, coastal regions, or properties with heavy tree coverage may need cleaning twice yearly. Regular preventative care helps prevent mold growth and extends the life of your siding. If you notice visible mildew, streaking, or grime buildup, clean sooner rather than waiting for the scheduled maintenance window.
Is pressure washing safe for all types of siding?
Pressure washing safety depends on siding material and PSI settings. Vinyl siding requires lower pressure (below 1500 PSI) to avoid damage. Wood siding needs even lower pressure (below 1200 PSI) to prevent splintering. Soft washing is often safer for delicate materials and older siding. Always test equipment on an inconspicuous area first, and when in doubt, consult a professional to protect your home’s exterior integrity.


