
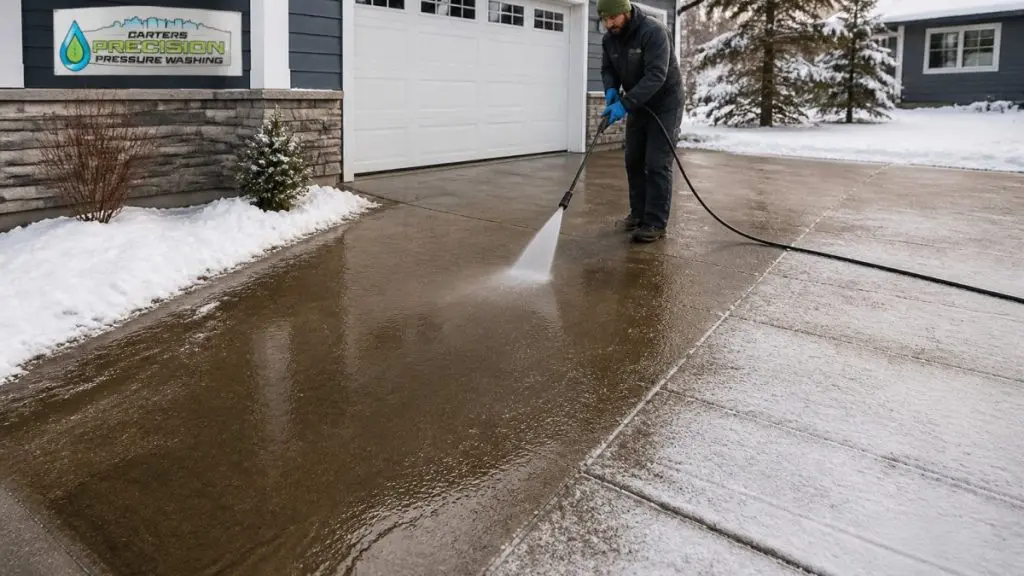
Last Updated: November 2, 2026
Quick Summary
To prepare a driveway for winter with pressure washing, clear vehicles and debris, pretreat algae and stains, wash with a wide-fan nozzle at conservative pressure, then let the surface dry fully before repairing cracks and sealing joints. Pressure washing cleans the concrete but does not repair it, so inspection and repair come after the wash.
- Clear vehicles and loose debris before washing so the clean is more even.
- Pretreat algae, moss, and mildew with concrete cleaner and let it sit before rinsing.
- Start with the white 40-degree nozzle and a moderate pressure of about 2,000 to 2,500 PSI.
- Wait until the driveway is fully dry before filling cracks or applying any sealer.
- Pressure washing does not close cracks or fix drainage, so inspect and repair after cleaning.
Table of Contents
- Why Pressure Wash Your Driveway Before Winter
- Step 1: Clear Vehicles and Loose Debris
- Step 2: Pretreat Stains and Organic Growth Before Washing
- Step 3: Choose the Right Nozzle and PSI for Concrete
- Step 4: Remove Oil Stains and Stubborn Grime
- Step 5: Inspect, Seal, and Repair Cracks After Washing
- How Long Your Driveway Takes to Dry Before Winter Weather Arrives
- Booking Your Pre-Winter Driveway Wash in Los Angeles
- Frequently Asked Questions
Why Pressure Wash Your Driveway Before Winter
Winter is hard on concrete, and a driveway for winter faces rain, moisture, and freezing temperatures that work their way into small cracks and surface pores.
Cleaning the driveway before the cold season is one of the simplest ways to protect a driveway for winter. A clean surface is also easier to inspect, so you can spot cracks or loose areas while there is still time to fix them.
- Less grime means less moisture held against the surface
- Cracks are easier to see and repair before freezing weather
- Slick patches from algae and organic growth are easier to avoid
- A clean driveway looks better for the season ahead
Driveways in Los Angeles face a milder winter than many parts of the country, but rain and damp conditions still build up grime.
Step 1: Clear Vehicles and Loose Debris
Start by moving every vehicle, trash bin, and loose item off the driveway. Pressure washing can push dirt and water under objects, so a clear surface gives you a more even clean.
Next, sweep away leaves, twigs, gravel, and other debris. Pushing water across a surface full of loose material spreads grit and can scratch the concrete.
Watch out: if a vehicle has leaked oil or fluid, move it to the street or another clean area before you begin, so the spill does not spread during washing.
Step 2: Pretreat Stains and Organic Growth Before Washing
Algae, moss, and mildew loosen more easily when treated before you spray. Apply a cleaner made for concrete and let it sit for the time listed on the label. Rinse only after the product has had time to work.
Pretreating also helps with rust and mineral stains. Test any product on a small, hidden corner first to check for discoloration.
Step 3: Choose the Right Nozzle and PSI for Concrete
Concrete is tough, but its top layer is not indestructible. Too much pressure etches the surface, opens the pores, and can blast out the sand-and-cement matrix that gives the slab its strength. Too little pressure leaves the algae and oil film that holds moisture against the surface all winter. The goal is the lowest pressure that lifts the grime, not the highest pressure the machine can produce.
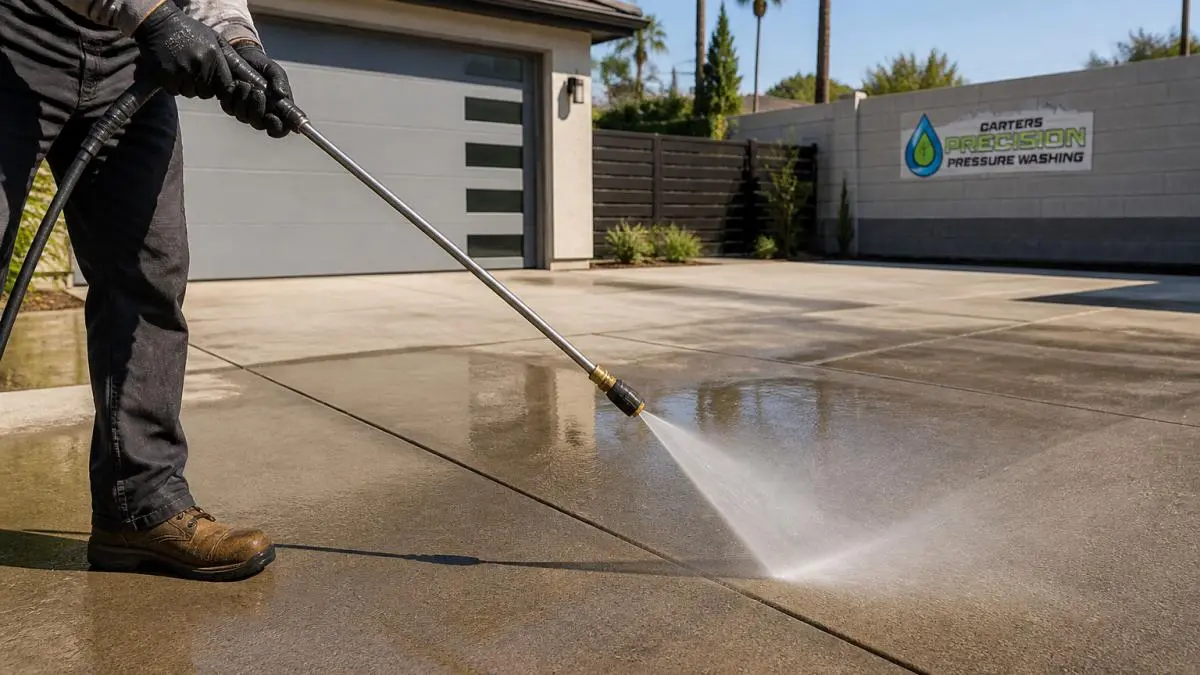
Start with the right nozzle
Nozzles are color-coded by spray angle, and the wider the fan, the gentler the impact on the surface:
- White (40-degree): the widest fan and the safest starting point for concrete, especially older or already-etched slabs.
- Green (25-degree): a middle setting for general concrete cleaning once you have confirmed the surface is sound.
- Yellow (15-degree): a more aggressive fan for stubborn stains on sound concrete only.
- Red (0-degree): a pinpoint stream that can gouge concrete and joints, avoid it on driveways.
- Turbo or rotating nozzles: these concentrate force and are easy to overuse; reserve them for heavily soiled, sound concrete and keep them moving.
A cautious approach is to start with the white 40-degree tip, test a small hidden corner, and step down to green or yellow only if the grime does not lift.
Set a conservative PSI range
Most gas and electric pressure washers sold for home use fall in the 2,000 to 3,200 PSI range. For typical residential concrete, a moderate pressure of roughly 2,000 to 2,500 PSI with a wide fan tip is commonly suggested as a conservative starting point. Higher PSI is not automatically better; it increases the risk of surface damage and joint erosion. If your machine has an adjustable pressure setting or a pressure-regulating unloader, dial it down before you start.
Keep the wand at a safe distance and angle
Hold the nozzle roughly 12 to 18 inches from the surface and keep the wand moving in even, overlapping passes. Never hold the stream in one spot, dwell time is what causes etch marks and stripes. Work at a consistent angle, generally about 45 degrees, and avoid spraying directly into control joints, expansion joints, and the edges of the slab, where water can force out the joint filler and undermine the base.
Watch out: if you see a white, chalky stripe or a rough patch appear, stop immediately, that is etched concrete, and no amount of rinsing will reverse it.
Test before you commit
Pick a small, out-of-the-way area, near the garage apron or a corner behind a planter, and make a few passes. Let it dry and compare it to the surrounding surface. If the test area looks uniform and clean, proceed. If it looks lighter, rougher, or striped, switch to a wider nozzle, lower the pressure, or increase your distance before touching the rest of the driveway.
Los Angeles timing note
In Los Angeles, a pre-winter wash is most practical in the cooler months before the first significant rain, while daytime temperatures are still mild enough for concrete to dry thoroughly. Rain and damp overnight conditions can push moisture into cracks and pores, so conservative pressure is worth using.
The table below summarises the nozzle colours and their spray angles, along with the suggested pressure range for residential concrete.
| Nozzle | Spray angle | Use on driveways |
|---|---|---|
| White | 40-degree | Safest starting point for concrete |
| Green | 25-degree | Middle setting once the surface is confirmed sound |
| Yellow | 15-degree | Stubborn stains on sound concrete only |
| Red | 0-degree | Avoid on driveways; can gouge concrete |
| Turbo / rotating | Concentrated force | Reserve for heavily soiled, sound concrete |
Step 4: Remove Oil Stains and Stubborn Grime
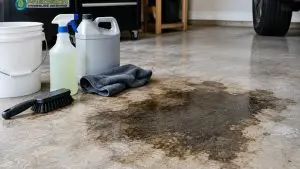
Oil stains are the hardest part of a driveway clean. Degreasing cleaners designed for concrete work best when applied to the stain, given time to soak, and scrubbed before rinsing.
Repeat the process for stubborn spots. If a stain persists after several rounds, a professional may have better tools and can advise on whether the stain can be fully removed.
Rust stains and deep grime also respond better to targeted treatment than to pressure alone. Pressure washing on its own may not remove them completely.
Step 5: Inspect, Seal, and Repair Cracks After Washing
Pressure washing cleans concrete; it does not repair it. A clean driveway is easier to inspect, but the wash itself will not close a crack, restore a spalled edge, or stop water from getting in. This is the step most DIY guides skip, and it is the one that determines whether the cleaning actually protects the slab through winter.
Let the driveway dry first
Wait until the surface is fully dry before inspecting or repairing. Drying time depends on temperature, humidity, sun exposure, and airflow, a driveway in full sun on a mild Los Angeles afternoon may dry in a few hours, while a shaded slab can take a full day or more. Do not apply crack filler or sealer to damp concrete; trapped moisture under a patch or sealer can cause adhesion failure and blistering.
Walk the full surface and document what you find
Walk the entire driveway, including edges, control joints, and the apron near the street. Look for:
- Hairline cracks (typically under about 1/8 inch wide) that can be filled with a concrete crack filler.
- Wider or spreading cracks that may indicate a base or settlement problem and need a professional assessment.
- Spalling, areas where the surface has flaked or popped off, which filler alone will not fix.
- Joint deterioration where the filler between slabs has crumbled or pulled away.
- Oil-soaked or stained areas that may need a second degreasing pass before any sealer is applied.
It can help to photograph each issue and note its location so you can track whether it worsens after the rainy season.
Repair cracks before sealing
Fill small cracks with a concrete crack filler rated for exterior use, following the product’s cure time before any sealer goes down. For wider or structural cracks, get a professional assessment before winter rain arrives, filling a moving crack without addressing the cause is a temporary fix at best. Replace deteriorated joint filler with a flexible exterior-grade joint sealant so the joints can move without cracking.
Decide whether sealing is appropriate
Sealing can add a protective layer against moisture, but it is not right for every driveway. Read whether professional concrete sealing is worth it to compare costs and conditions before you decide. A compatible penetrating or film-forming sealer may be appropriate on sound, clean, fully cured concrete; it is generally not recommended over actively spalling surfaces, unaddressed cracks, or concrete that has not fully dried.
Watch out: sealing over a damp slab or an unrepaired crack traps moisture and can make winter damage worse, not better.
Los Angeles-specific decision criteria
The practical question is often whether the driveway will see standing water or runoff during the rainy season. If the slab drains well and cracks are minor, cleaning plus targeted crack repair may be enough. If water pools against the garage, the slab has settled, or cracks are widening, a professional evaluation is worth considering before the rains arrive. Washing does not fix drainage or structural problems, and no sealer will compensate for them.
How Long Your Driveway Takes to Dry Before Winter Weather Arrives
Drying time depends on temperature, humidity, sun exposure, and airflow. A driveway in full sun on a warm day dries faster than one in shade or damp weather.
Plan the wash for a dry stretch of days and leave enough time before rain or cold arrives. Concrete that stays wet can hold moisture into freezing conditions, so give the surface time to dry fully before the weather turns.
Booking Your Pre-Winter Driveway Wash in Los Angeles
If you would rather not handle the cleaning yourself, you can have Carters Precision Pressure Washing clean your driveway before winter. Our team in Los Angeles cleans concrete driveways, walkways, and patios, and we can explain the best approach for your surface.
Pricing depends on the size and condition of your driveway. Visit the Carters Precision Pressure Washing website or call for a current quote.
Frequently Asked Questions
What should I pretreat my driveway with before pressure washing?
Before pressure washing, pretreat oil spots and organic growth such as algae or moss with a concrete-safe degreaser or cleaner, and let it dwell for the time listed on the label. Sweep away loose leaves and debris first so the cleaner can reach the surface. Pretreating loosens grime so the pressure washer removes it with less force, which lowers the risk of etching the concrete. Rinse thoroughly afterward and avoid letting cleaners dry on the driveway.
How cold is too cold for pressure washing a driveway?
Avoid pressure washing when temperatures are near or below freezing, because water can freeze on the surface and create slick patches, and any moisture trapped in cracks can expand during the freeze-thaw cycle. Aim for a mild, dry day with enough warmth for the concrete to dry within a few hours. In Los Angeles, most winter days are mild, so you can usually schedule the wash in the morning on a clear day and finish before any evening chill sets in.
Can pressure washing remove oil stains from a driveway?
Pressure washing alone often leaves oil shadows behind, so pretreat fresh or set-in oil stains with a degreaser before washing. Apply the cleaner, scrub lightly with a stiff brush, and let it dwell as directed. Then rinse with the pressure washer on a moderate setting. Very old or deeply absorbed stains may need several rounds, and some may never fully disappear without professional treatment.
How long should a driveway dry after pressure washing?
Most concrete driveways need roughly 24 to 48 hours to dry on a warm, dry day, though the surface may feel dry sooner. Thicker concrete, shaded areas, and cooler weather take longer. Make sure the driveway is fully dry before applying a sealer, since trapped moisture can cause the sealer to fail. Check for dark, damp patches in cracks and joints before you consider the job finished.