

Table of Contents
- What You’ll Need Before Starting
- How to Deep Clean Wood Decks Without Damage
- How to Clean a Wood Deck Without a Pressure Washer
- Best Wood Deck Cleaner Options
- How to Remove Algae From a Wood Deck
- How Long to Let a Deck Dry After Cleaning
- Common Mistakes to Avoid When Cleaning Wood Decks
- Frequently Asked Questions
Last Updated: October 18, 2026
What You’ll Need Before Starting
Before you begin deep cleaning your wood deck, gather the right supplies. Having everything ready prevents delays and ensures you work efficiently.
Essential cleaning supplies:
- Soft-bristled brush or deck brush
- Garden hose with adjustable spray nozzle
- Deck cleaner (oxygen-based or biodegradable formula)
- Bucket for mixing solution
- Protective gloves and eye protection
- Drop cloths or tarps for nearby plants
- Broom for initial debris removal
- Microfiber cloths for spot cleaning
Optional but helpful items:
- Deck stain or sealant for post-cleaning protection
- Extension pole for reaching high areas
- Safety glasses for chemical protection
- Work boots with good traction
The right tools make the difference between a quick, effective cleaning and a frustrating struggle. Starting with quality brushes and eco-friendly cleaners can protect your wood while removing grime.
How to Deep Clean Wood Decks Without Damage
Deep cleaning your wood deck requires patience and the right technique. The goal is removing built-up dirt, algae, and mildew without stripping the wood or causing splintering.
Step 1: Inspect and Prepare the Deck Surface
Walk across your entire deck and look for problem areas. Check for soft spots, loose boards, or areas where the wood feels spongy. These indicate rot and need repair before cleaning.
Look at the current finish. If your deck has a glossy sealant, cleaning will be gentler than cleaning bare wood. Test your cleaner on a hidden area first to see how the wood reacts.
Clear the deck of furniture, planters, and decorations. Move everything to a safe location away from your work area.
Start your inspection on a dry, sunny day. Wet wood hides soft spots and makes it harder to spot problem areas. You’ll get a clearer picture of what needs attention.
Step 2: Clear Debris and Protect Surrounding Areas
Sweep the entire deck thoroughly with a broom. Remove leaves, dirt, twigs, and any loose debris. This prevents the cleaner from mixing with debris and creating a muddy paste.
Lay drop cloths or tarps around plants, shrubs, and garden beds near your deck. Even eco-friendly cleaners can harm plants if they’re concentrated. Protect your landscaping before you start spraying.
Close windows and doors on the side of your house facing the deck. This prevents cleaning solution from drifting inside.
Step 3: Apply the Cleaning Solution
Mix your deck cleaner according to the manufacturer’s instructions. Most oxygen-based cleaners work best when diluted with water in a bucket.
Apply the solution evenly across the deck using a pump sprayer or watering can. Work in small sections, about 4 feet by 4 feet at a time. This prevents the cleaner from drying before you scrub.
Let the solution sit for 10-15 minutes. This gives the cleaner time to break down algae, mold, and embedded dirt. Don’t let it dry completely.
Never apply cleaner under direct sunlight. The solution dries too fast and won’t penetrate the wood properly. Choose an overcast day or work in the early morning or late afternoon.
Step 4: Scrub and Let the Solution Work
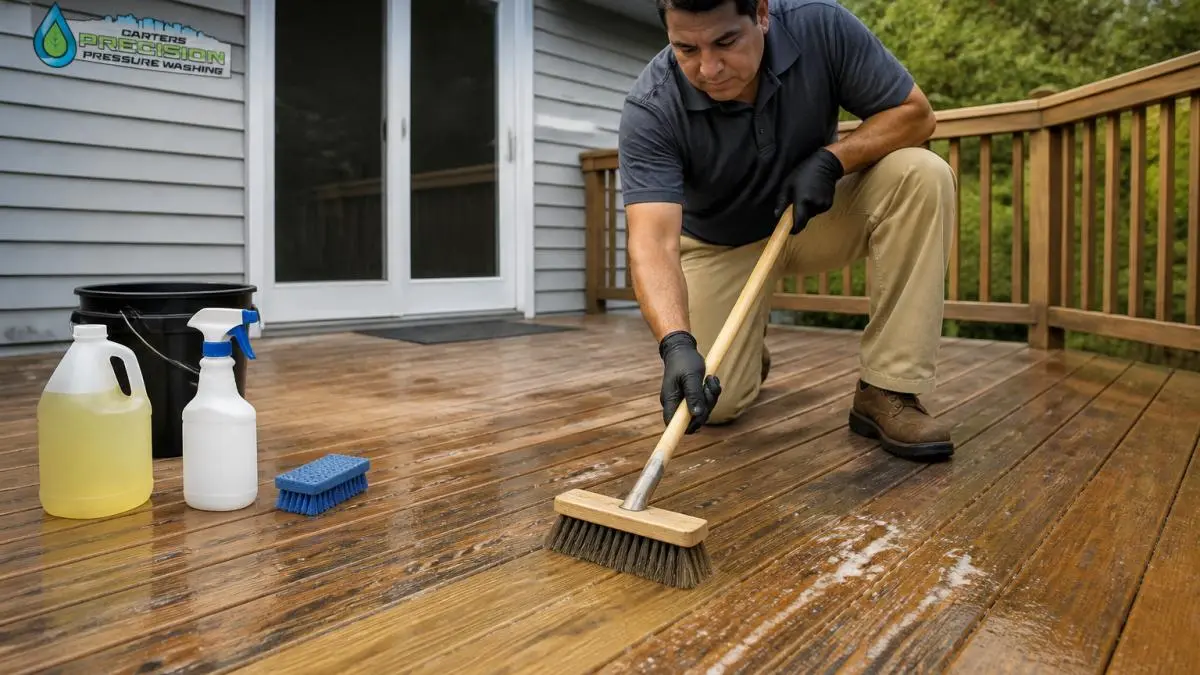
Use a soft-bristled brush to scrub the deck in the direction of the wood grain. Scrubbing with the grain prevents damage to the wood fibers and keeps the surface looking natural.
Apply medium pressure. You’re not trying to sand the wood. Let the cleaner do most of the work. A gentle, steady motion is more effective than aggressive scrubbing.
Pay extra attention to corners, crevices, and areas where debris collects. These spots often harbor the most algae and mold.
For stubborn stains, let the cleaner sit a bit longer before scrubbing. Some cleaners work better with extra time.
Step 5: Rinse Thoroughly
Rinse the deck completely with a garden hose. Use a gentle spray setting, not a high-pressure jet. High pressure damages wood fibers and can create splinters.
Rinse multiple times until the water runs clear and you see no soap residue. Leftover cleaner can leave a slippery surface and may damage the wood finish.
Start at the top of the deck and work downward. This lets gravity help push water and cleaner away.
Allow the deck to dry completely before walking on it. Depending on weather conditions, this typically takes 24-48 hours.
How to Clean a Wood Deck Without a Pressure Washer
Many homeowners worry that pressure washers will damage their decks. The good news is you can achieve excellent results without one.
Pressure washers can strip wood, crack siding, and force water into crevices where it causes rot. A soft-bristled brush and the right cleaner work just as well for most situations.
Effective pressure-washer-free methods:
- Soft-bristled brush with oxygen-based cleaner
- Deck cleaning solution with a mop or cloth
- Vinegar and water solution for mild staining
- Baking soda paste for stubborn spots
- Garden hose with adjustable spray nozzle
The brush method takes longer but gives you complete control. You can focus on problem areas without risking damage to the wood. For Los Angeles homeowners with older wooden decks, this approach is often the safest choice.
Start with the gentlest method first. If the soft brush doesn’t remove the staining, move to a slightly stronger cleaner. Build up your approach rather than starting with aggressive methods.
The softest cleaning method that works is always the best choice. You can always use stronger techniques later, but you can’t undo wood damage.
Best Wood Deck Cleaner Options
The cleaner you choose determines your results and how safe the process is for your deck.
Oxygen-based cleaners break down algae and mold without harsh chemicals. They’re biodegradable and safe for plants and pets. These work well for most wood decks in Los Angeles.
Vinegar and water solutions work for light cleaning. Mix one part vinegar with three parts water. This is gentler than commercial cleaners but less effective for heavy staining.
Baking soda paste tackles stubborn spots. Mix baking soda with water to create a thick paste. Apply it directly to stains, let it sit for 15 minutes, then scrub gently.
Specialized deck cleaners target specific problems. Some formulas focus on algae removal. Others excel at mold and mildew. Choose based on your primary problem.
Avoid bleach and harsh chemicals. These damage wood fibers, fade color, and harm the environment. They also strip protective sealants faster than gentler options.
For most situations, an oxygen-based deck cleaner delivers the best balance of effectiveness and safety. These products are widely available and work on nearly all wood types.
How to Remove Algae From a Wood Deck
Algae creates slippery, dark patches on wood decks. It thrives in damp, shaded areas and grows quickly in humid climates like Los Angeles.
Algae removal steps:
- Apply an algae-specific cleaner to affected areas
- Let the solution sit for 10-20 minutes
- Scrub gently with a soft brush in circular motions
- Rinse thoroughly with a garden hose
- Allow the deck to dry completely
- Apply algae prevention sealant if desired
Algae returns if conditions remain damp. Improve air circulation by trimming overhanging branches. This helps your deck dry faster after rain or morning dew.
For persistent algae, a preventative sealant creates a barrier that stops algae from taking hold. Apply sealant annually for best results.
The key to long-term algae control is keeping your deck dry. If water pools in certain areas, address drainage issues. A deck that dries quickly stays cleaner longer.
How Long to Let a Deck Dry After Cleaning
Drying time depends on weather, humidity, and wood type. In Los Angeles, where humidity varies seasonally, drying times typically range from 24-48 hours.
Factors that affect drying time:
- Temperature (warmer = faster drying)
- Humidity level (lower humidity = faster drying)
- Sun exposure (more sun = faster drying)
- Wood thickness and type
- Amount of water used during rinsing
Never apply sealant or stain to a wet deck. Moisture trapped under the finish causes peeling and discoloration. Test the wood by touching it with your hand. It should feel completely dry, not just surface-dry.
Check the wood in shaded areas. These spots dry last and are the best indicator of overall dryness.
If rain is forecast within 48 hours, wait until after the rain passes. A fresh cleaning followed by rain means starting over.
A moisture meter gives you certainty about dryness. These inexpensive tools measure wood moisture levels. Most decks are ready for sealant when moisture content is below 15%.
Common Mistakes to Avoid When Cleaning Wood Decks
Knowing what NOT to do prevents costly damage to your deck.
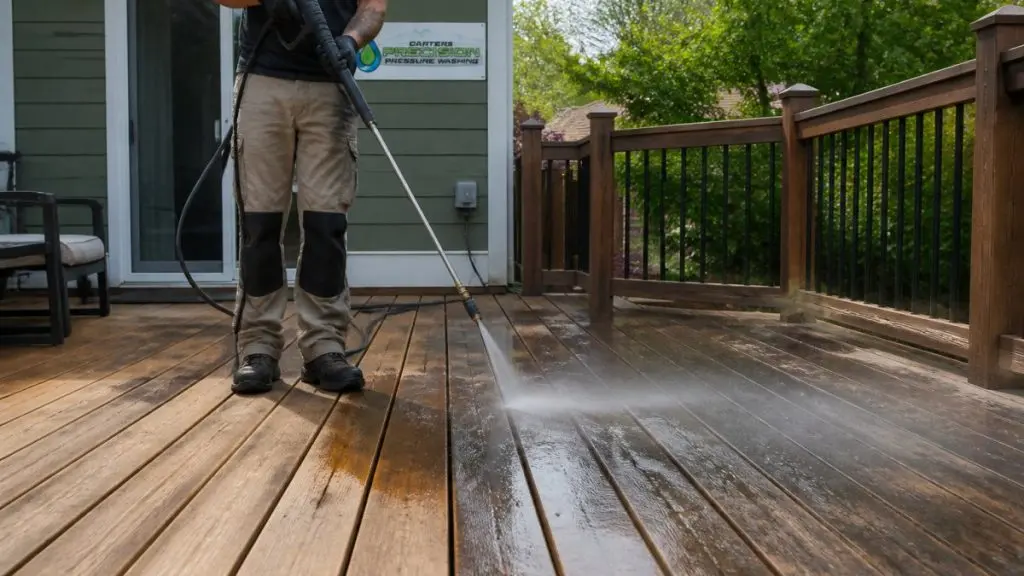
Using a pressure washer on wood is the most common mistake. High pressure strips wood fibers, creates splinters, and forces water into cracks where it causes rot. Save pressure washing for driveways and patios.
Cleaning in direct sunlight causes cleaners to dry too fast. The solution doesn’t have time to break down dirt and algae. It also dries unevenly, leaving streaks and residue.
Scrubbing against the wood grain damages fibers and creates a rough, splintered surface. Always scrub parallel to the grain direction.
Letting cleaner dry on the wood leaves residue that attracts dirt and can damage the finish. Rinse immediately after scrubbing.
Skipping the inspection step means missing rotted boards or structural problems. These issues get worse if you ignore them.
Applying sealant to wet wood traps moisture and causes peeling. Wait until the deck is completely dry.
Using bleach or harsh chemicals fades wood color and harms nearby plants. Stick with gentler, biodegradable options.
Not protecting surrounding plants exposes your landscaping to chemicals. Always use tarps and drop cloths.
Many homeowners try to save money by cutting corners on technique. This usually costs more in the long run when damage requires expensive repairs. The slow, careful approach protects your investment.
Keeping your wood deck clean and protected is an ongoing commitment. A well-maintained deck not only looks better but lasts longer and maintains your property’s curb appeal. If you’re selling your home in Los Angeles or simply want to restore your deck to its best appearance, professional deep cleaning can make a dramatic difference. Call us for a free estimate and see how we can help your deck shine.
Frequently Asked Questions
Can you clean a wood deck without a pressure washer?
Yes. A soft-bristled brush, mop, or low-pressure spray nozzle works well for deep cleaning wood decks without damage. Manual scrubbing with a deck cleaner solution removes grime, algae, and mildew effectively. Pressure washers can strip wood finish and create gouges, so gentler methods protect your deck’s surface and extend its lifespan.
What is the safest cleaner to use on a wood deck?
Oxygen-based deck cleaners are among the safest options for wood. They break down organic stains without harsh chemicals that damage wood fibers. Diluted white vinegar or baking soda solutions also work for light cleaning. Always test any cleaner on a hidden deck area first, follow manufacturer instructions, and rinse thoroughly to prevent residue buildup.
How long should a wood deck dry after cleaning?
Allow 24 to 48 hours for a wood deck to dry completely after cleaning, depending on humidity, temperature, and sun exposure. Warmer, drier weather speeds drying; cool, humid conditions slow it. Ensure good air circulation by removing tarps or covers. Avoid walking on the deck or applying sealant until it’s completely dry to prevent damage and ensure proper product adhesion.
Should you scrub a wood deck with the grain?
Yes, always scrub with the wood grain, not against it. Scrubbing against the grain can raise fibers, create a rough texture, and damage the wood surface. Scrubbing with the grain helps dirt lift away while keeping the wood smooth and protected. Pay special attention to this technique when removing algae or stubborn stains.